Once your website is live it is important that you set up your google analytics. Google Analytics is an amazing tool that you can use to analyse your website. It is necessary to understand where your traffic is coming from and what your readers are interested in reading, how much time they are spending on your website and more. The analytics report also shows you the bounce rates, conversions, and this can be used to optimize your posts, improve your mobile design and optimization and also ensure happy audience who will keep coming back.

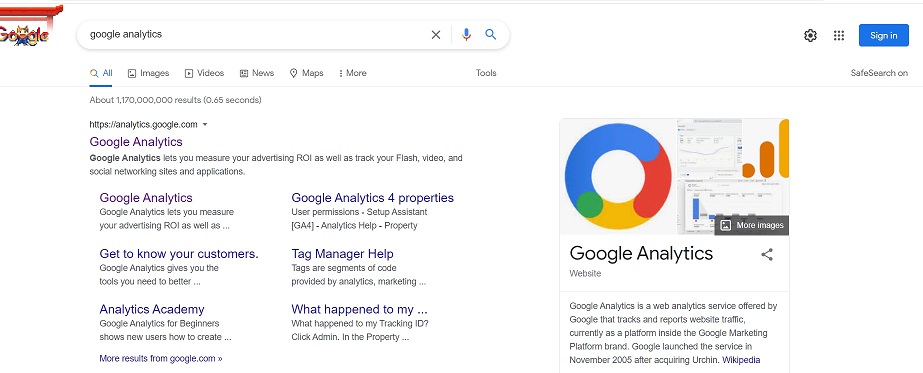
Step 1: Open Google Analytics
Open Google Analytics. Click Here.
Login in with your Google Login credentials.
*Note: You can create multiple analytics account with your google account.
Step 2: Create account.
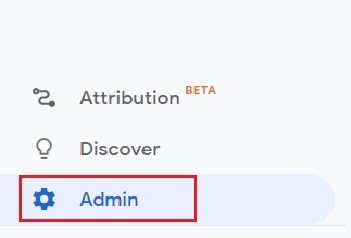
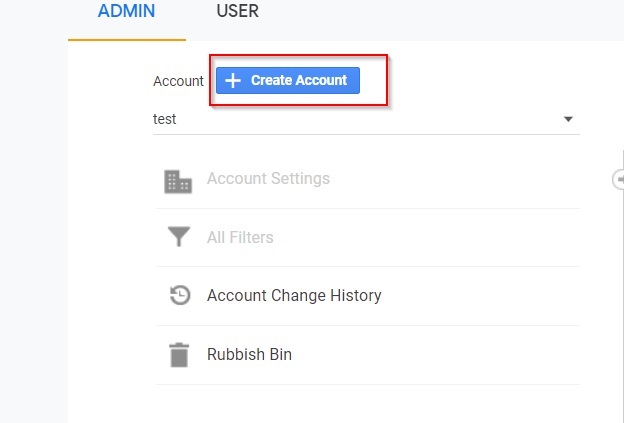
To create an account, select Admin from the left panel, and then select Create Account.
Step 3: Enter Account Details
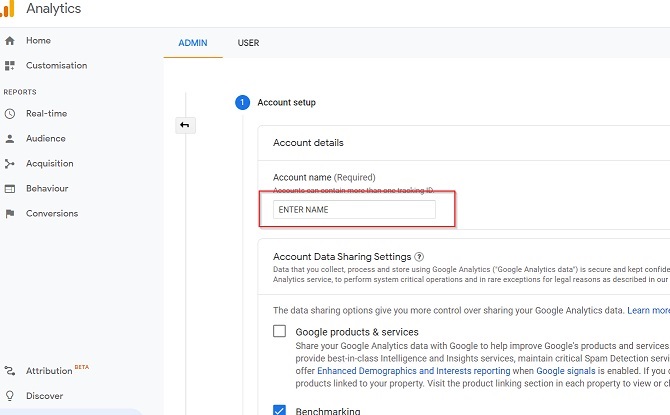
Enter the account name. The account name can be the name of your website. It does not have to be the URL of your Website.
Click Next.
Step 4: Enter Property Details
Enter the Property name, select your region, time zone and currency.
Click on “Show Advanced Options”
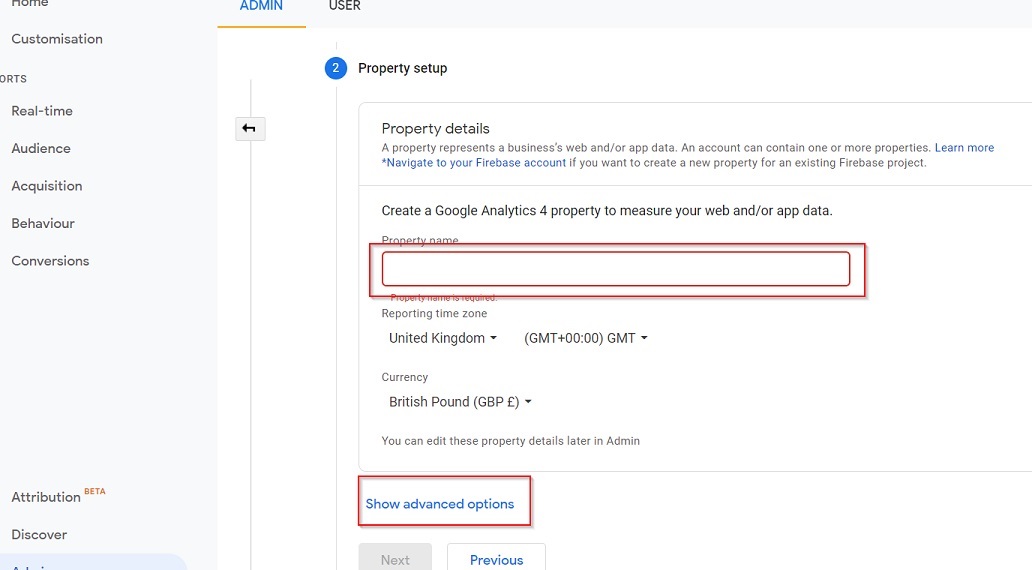
Step 5: Enable ‘create a universal analytics property’
By default, the create analytics property is turned off. Turn on the create Universal Analytics Property.

Step 6: Enter URL details
Enter the URL of your website. You can select to create only the Google Universal Analytics Property of you can select to create the Google Analytics 4 Property as well.
In this tutorial, we will be using only the Google Universal Analytics Property.
Click Next.

Step 7: Enter your business details.
Once, you have selected your business details and how you would like to use Google Analytics. Click Next.
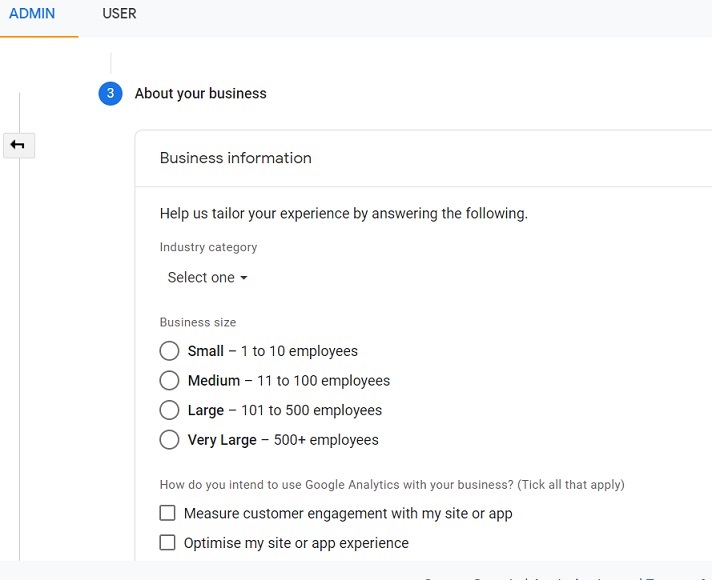
Step 8: Agree to the Terms and Conditions.
Once you agree to the terms and conditions, your account will be created. You can see the Google Tracking code in the right side panel.
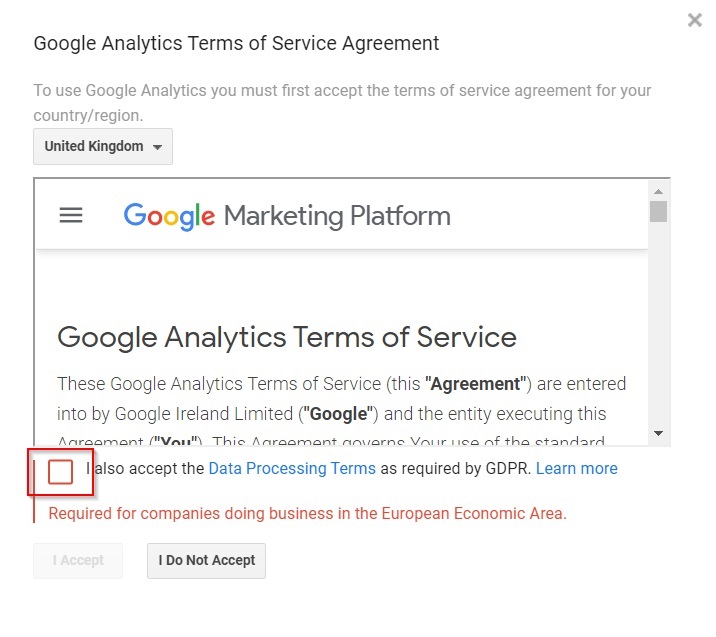
Step 9: Do not see the Google Analytics Tracking Code?
If you have created both Google Analytics 4 and the Universal Analytics property, the web Data Stream panel will open by default. You can close this. To change this, you can select the dropdown and select the property with the Universal Analytics. Select the Universal Analytics tab. Open All Website Data. The dashboard will open.
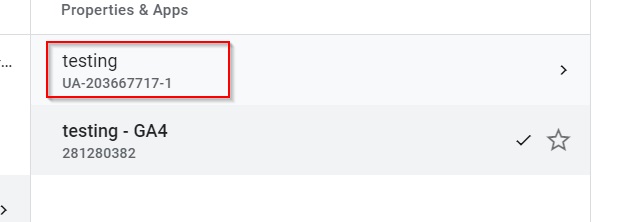
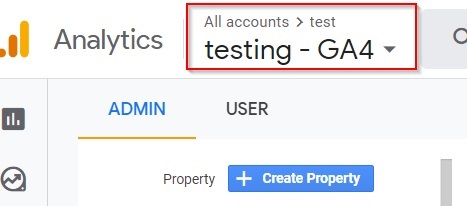
Step 10: Copy the Google Analytics Code.
Now, click on Admin on the left panel. Select Tracking Info. Your tracking code will be displayed on the right panel.
Copy the tracking code. The tracking code is in the box. Copy the entire code.
Now all that needs to be done is to link the Google Analytics Universal code to your WordPress account.
Step 11: Login to your WordPress.
Step 12: From the dashboard, select Theme Editor under Appearance.
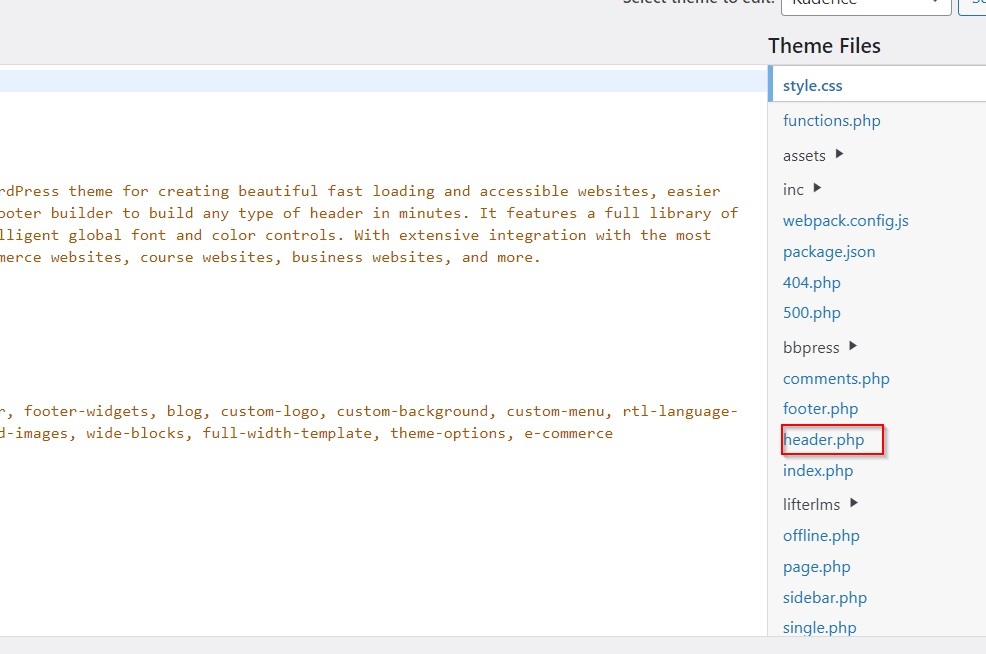
Step 14: Update the Google Analytics Code. Select Header.php
Select header.php
Now paste the google analytics code just before the line </head>
*Note – Be careful when you are pasting the code on the header.php file. Make sure you don’t delete any line or it can break the code on your website.
Now your Google Universal Analytics code is update on your WordPress Site.
Happy Blogging and Analyzing!


